主题
使用 nginx 部署 vue 项目到本地以及代理
更新: 11/26/2025字数: 0 字 时长: 0 分钟
TIP
介绍本篇介绍打包后的 vue 项目使用 nginx 部署到本地以及接口的反向代理和负载均衡;
前提:准备一个打包后的 vue 项目和安装 nginx;
1,先安装 nginx
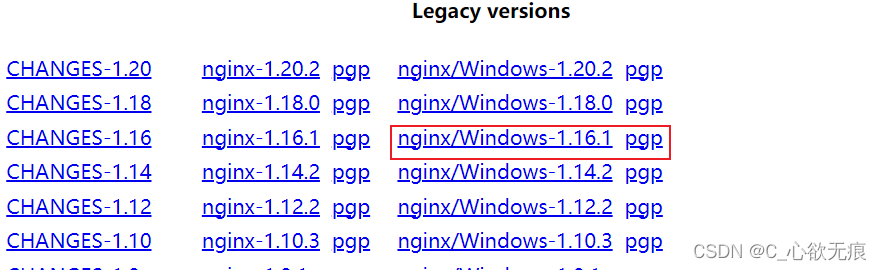
下载链接:http://nginx.org/en/download.html
我安装的是:1.16.1 版本的,如下:
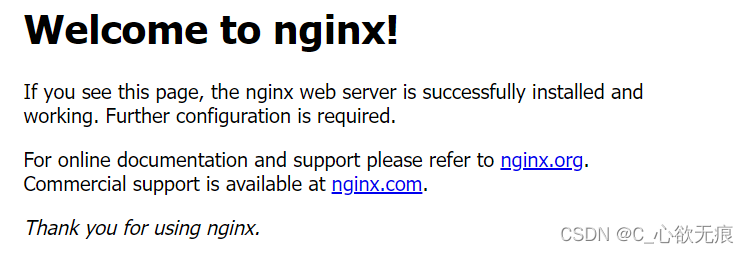
然后解压到一个指定的文件夹就行;双击根目录的 nginx 图标 ,然后再访问 http://localhost/若出现以下页面表示启动成功:
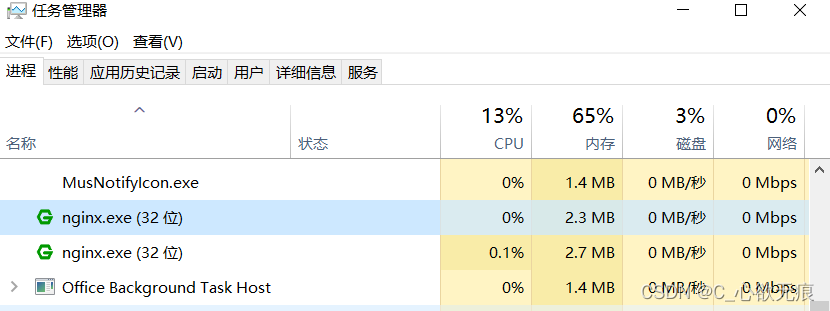
也可以在任务管理器中查看是否启动成功:
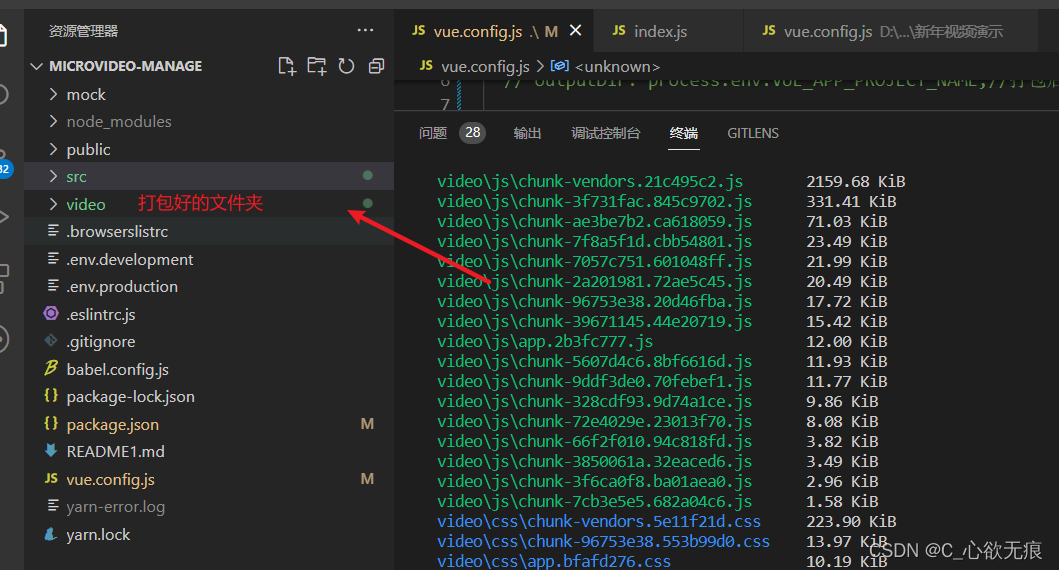
2,打包 vue 项目
在 vue 项目根目录的 vue.config.js 文件配置 publicPath 路径;如下:
javascript
module.exports = {
  outputDir: "video", //打包后的文件夹名字及路径
  publicPath: "/video/", // 生产的项目名
  lintOnSave: false
};然后运行 npm run build 打包完成;打包后的就是根目录下的 video 文件;
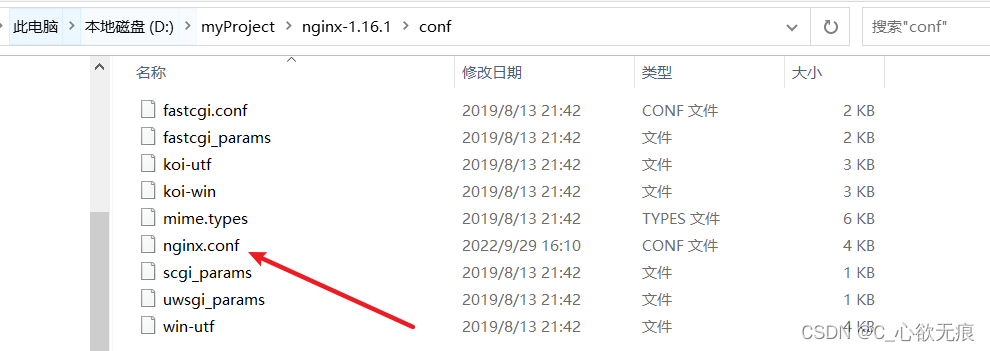
3,修改 nginx 配置文件
此步需要进入到 nginx 的 conf/nginx.conf 下面新增一个
路径监听,这个路径对应的就是 vue 项目打包后存放的本地的绝对路径,如下:
3.1 先进入到 nginx.conf 里面
3.2 添加 nginx.conf 路径监听
在配置文件里面加入我画红线的内容;alias 对应的就是本地打包后的项目文件夹存放的本地路径;
注意!
location /video/ 这个nginx映射路径一定要对应 :
vue 2项目的 publicPath : "/video/" 或者vite 项目的 base: "/video/"
末尾一定要加 /
一旦映射错误,报下面错误:
错误提示!
Failed to load module script: Expected a JavaScript-or-Wasm module script but the server responded with a MIME type of "text/html". Strict MIME type checking is enforced for module scripts per HTML spec.
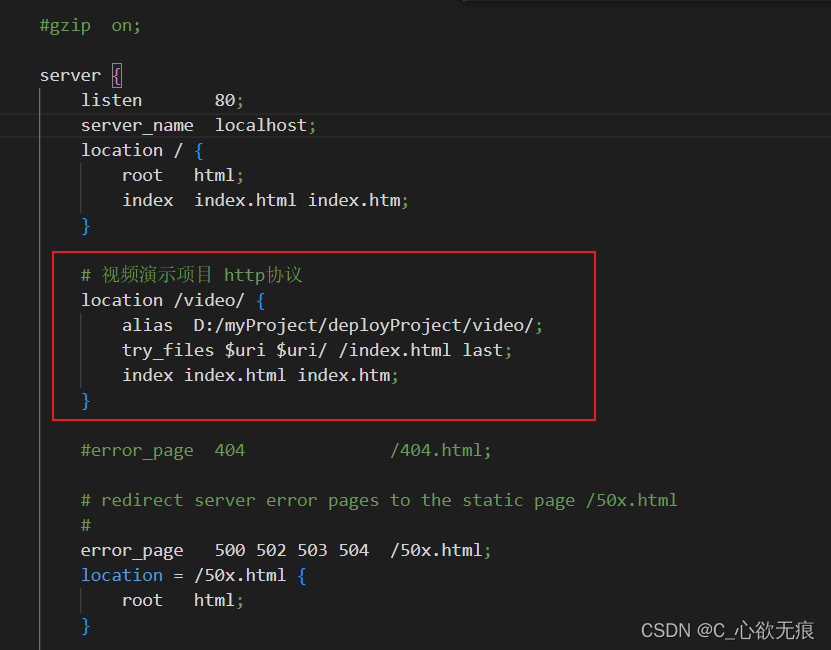
配置如下:
nginx
# 视频演示项目 http协议
location /video/ {
    alias  D:/myProject/deployProject/video/;
    try_files $uri $uri/ /index.html last;
    index index.html index.htm;
}3.3 设置反向代理和负载均衡
如果你部署的里面有接口的请求,那么需要设置反向代理和负载均衡,请好好的看下面案例:
nginx
upstream serve_backend {
	ip_hash;
	server 192.168.11.68:20201;
	server 192.168.11.69:20201 weight=1 down;
	server 192.168.11.70:20201 weight=2;
	server 192.168.11.71:20201 weight=3 backup;
	server 192.168.11.72:20201 weight=1 max_fails=3 fail_timeout=30s;
}配置说明
- down: 表示当前的 server 暂时不参与负载
- weight: 默认为 1.weight 越大,负载的权重就越大
- backup: 其它所有的非 backup 机器 down 或者忙的时候,请求 backup 机器。所以这台机器压力会最轻
- 上例中 192.168.11.72:20201 设置最大失败次数为 3,也就是最多进行 3 次尝试,且超时时间为 30 秒;(max_fails 的默认值为 1,fail_timeout 的默认值是 10s。)
- 注意,当upstream中只有一个server 时,max_fails 和 fail_timeout 参数可能不会起作用; weight\backup 不能和 ip_hash 关键字一起使用。
- 最后在需要使用负载均衡的 server 中增加 proxy_pass http://serve_backend/,对应 upstream 的名字。
- nginx.conf 的 serve 模块配置如下:
nginx.conf 的 serve 模块配置如下:
nginx
http {
    include       mime.types;
    default_type  application/octet-stream;

    sendfile        on;
    #tcp_nopush     on;

    #keepalive_timeout  0;
    keepalive_timeout  65;

    #gzip  on;

    # 在这里 设置负载均衡
    # 上面有讲解
    upstream serve_backend{
		ip_hash;
		server 192.168.11.68:20201;
		server 192.168.11.69:20201 weight=1 down;
		server 192.168.11.70:20201 weight=2;
		server 192.168.11.71:20201 weight=3 backup;
		server 192.168.11.72:20201 weight=1 max_fails=3 fail_timeout=30s;
	}

    server {
        listen       80;
        server_name  localhost;
        location / {
            root   html;
            index  index.html index.htm;
        }

        # 视频演示项目 http协议
        location /video/ {
            alias  D:/myProject/deployProject/video/;
            try_files $uri $uri/ /index.html last;
            index index.html index.htm;
        }

        # 在这里设置反向代理
        # wxserver 是需要代理的标志
        location /wxserver/ {
            proxy_pass http://serve_backend/;
            # 启用keep alive
            proxy_http_version 1.1;
            proxy_set_header Connection "";

            # 获取 xforward和真实IP
            proxy_set_header  X-Forwarded-For  $proxy_add_x_forwarded_for;
            proxy_set_header  X-Real-IP  $remote_addr;
            proxy_set_header  Host $host;
        }


        #error_page  404              /404.html;
        # redirect server error pages to the static page /50x.html
        #
        error_page   500 502 503 504  /50x.html;
        location = /50x.html {
            root   html;
        }
}4,重启 nginx
上面如果没有涉及到接口的请求,就不用设置第3.3步骤了;设置完成后需要到任务管理器结束掉所有的 nginx 进程,然后进入到 nginx 根目录下 双击 nginx 图标,重新启动 nginx;
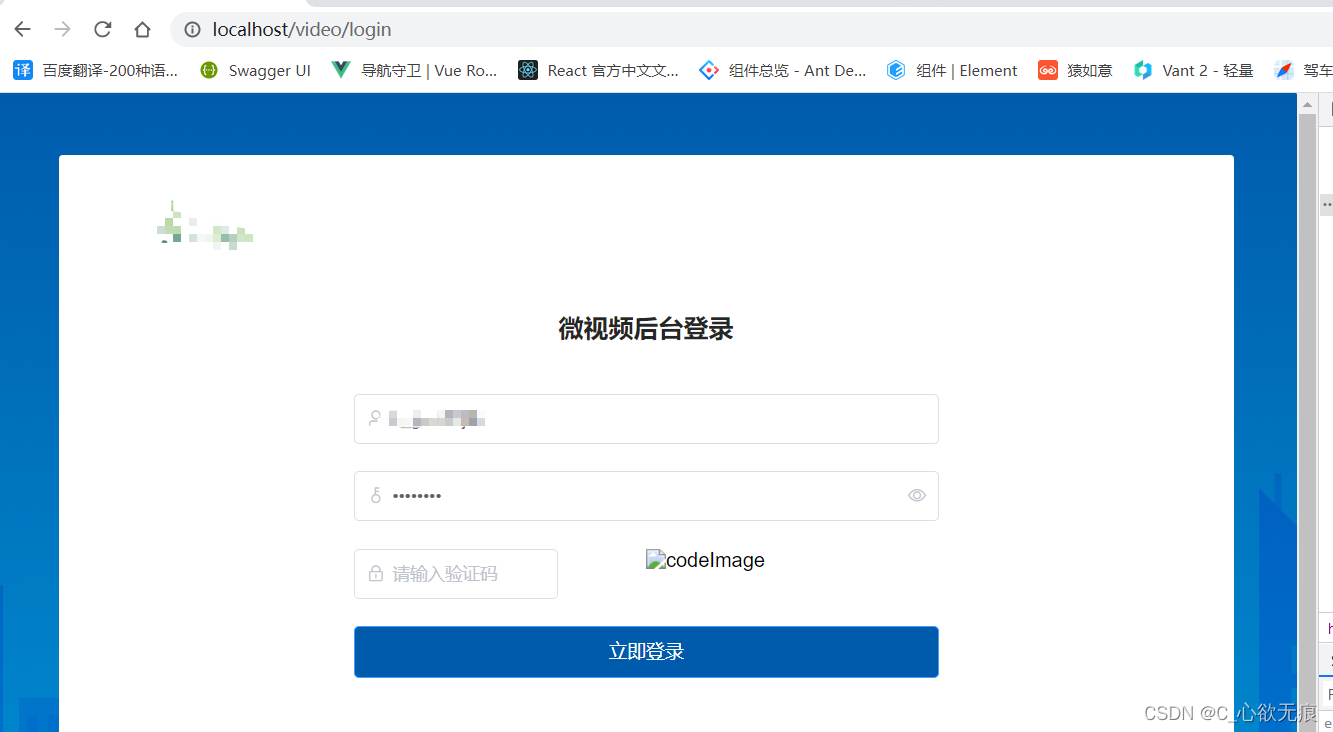
5,重新访问项目路径
然后再重新访问本地项目路径:http://localhost/video/login ; /video是 nginx 代理到本地的映射,一定要有 /login 是你 vue 项目的入口路由 ,一定要有后面就进入到你的项目了,使用的接口也是代理过的。
如下:部署成功;